When Your Kitchen Sink Backs Up: What You Need to Know First
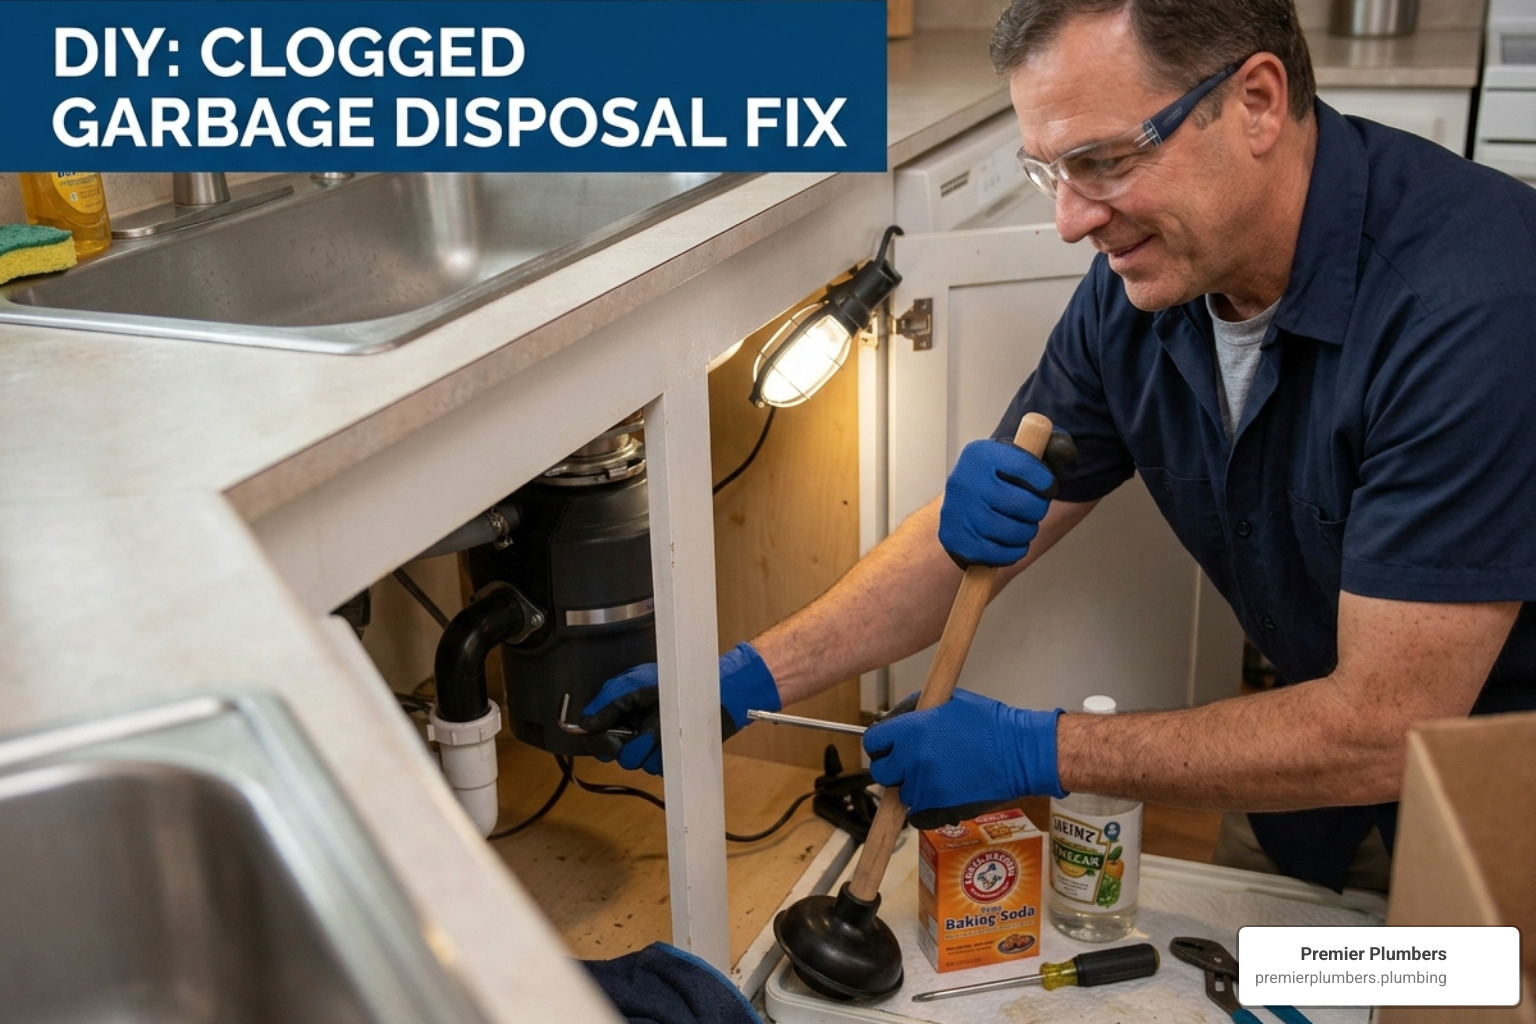
A clogged garbage disposal fix is something most Florida homeowners will need at least once — often at the worst possible time, like right after a big family dinner.
Here’s a quick overview of how to fix it:
- Turn off the power — unplug the unit or switch off the circuit breaker
- Press the reset button — find the red button on the underside of the unit and press it firmly
- Remove visible debris — use tongs or pliers (never your hands) to pull out any stuck food or objects
- Free jammed impellers — insert a hex key (Allen wrench) into the bottom hole and turn back and forth
- Plunge the drain — add a few inches of water to the sink and plunge with a standard sink plunger
- Try baking soda and vinegar — pour ½ cup baking soda followed by 1 cup vinegar, wait 10–15 minutes, then flush with hot water
- Clean the P-trap — if water still won’t drain, the curved pipe under the sink may need to be removed and cleared
- Call a plumber — if the motor hums, smells like burning, or the unit leaks persistently
More than half of American homes have a garbage disposal, and most units last anywhere from 8 to 15 years with proper care. Yet clogs remain one of the most common kitchen headaches — and most of them are fixable in under 30 minutes without a service call.
I’m Kelly Cardin, owner of Premier Plumbers and a third-generation plumber with over 34 years of experience helping Southwest Florida homeowners tackle everything from simple clogs to full drain system failures — including more clogged garbage disposal fix calls than I can count. In this guide, I’ll walk you through exactly what to do, step by step.

Common Causes and Safety Precautions for a Clogged Garbage Disposal Fix
Before we roll up our sleeves, we need to understand why these units fail and, more importantly, how to stay safe. In our experience serving areas from Sarasota to Naples, we’ve seen that most disposal failures result from improper use—specifically, sending items down the drain that the blades simply weren’t designed to handle.
What’s Killing Your Disposal?
- Fibrous Scraps: Celery, corn husks, and onion skins are the “hair” of the plumbing world. They wrap around the impellers and create a tangled mess that stops the motor in its tracks.
- Grease and Fat: This is the silent killer. When you pour hot grease down the drain, it eventually cools and solidifies, trapping other food particles and creating a thick, waterproof plug.
- Starchy Expansion: Pasta, rice, and potato peels might seem harmless, but they expand when wet. They can turn into a thick paste that acts like glue inside your pipes.
- Coffee Ground Sludge: While they smell great, coffee grounds don’t actually disappear. They settle in the P-trap and build up into a dense, sandy sludge.

Safety First: The Golden Rule
Safety isn’t just a suggestion; it’s a requirement. Never put your hand inside the garbage disposal. Even if the unit is turned off at the wall switch, there is a risk of accidental activation or the “kickback” of a jammed blade.
- Disconnect the Power: Unplug the unit from the outlet under the sink. If your disposal is hardwired, go to your electrical panel and switch off the circuit breaker dedicated to the kitchen.
- Use Tools Only: Use tongs, pliers, or a wooden spoon to manipulate anything inside the hopper.
- Check for Heat: If the unit feels hot to the touch or smells like burning plastic, stop immediately. This indicates the motor is under severe stress.
If you find yourself in a situation where the sink is overflowing and you can’t get the power off safely, you may need Emergency Plumbing assistance.
Step-by-Step Guide to Unclogging Your Disposal
If your disposal is humming but not grinding, or if the water is simply standing still, follow these steps in order. Most clogged garbage disposal fix scenarios can be resolved within the first few steps.
Resetting the Unit and Clearing Debris
Sometimes, the fix is as simple as a “reboot.” Garbage disposals have a built-in circuit breaker to prevent the motor from burning out when a jam occurs.
- The Red Button: Look at the very bottom of the disposal unit under your sink. You should see a small red button. If it has “tripped,” it will be popped out. Press it back in. If it stays in, try turning the power back on and flicking the switch.
- The Flashlight Test: If the reset button doesn’t work, turn the power back off. Use a flashlight to peer down into the drain. Look for obvious “non-food” items like a stray spoon, a bottle cap, or a thick bone.
- Extraction: Use long-handled tongs or needle-nose pliers to fish out any obstructions you can see.
If the unit still won’t budge after a reset, you might be dealing with more significant plumbing repairs.
Manually Freeing Jammed Impellers
If the motor is humming but the blades aren’t spinning, the impellers (the rotating parts that fling food against the grind ring) are likely jammed.
- The Hex Key Method: Most disposals (like the popular InSinkErator models) have a hexagonal hole in the center of the bottom of the unit.
- Rotate: Insert a 1/4-inch hex key (often called an Allen wrench) into this hole. Crank it back and forth. You are manually turning the motor shaft to break the jam. Continue until you can spin the wrench in a full circle with little resistance.
- The Wooden Spoon Alternative: If your model doesn’t have a bottom hex hole, you can use a wooden spoon. Insert the handle into the drain, wedge it against one of the impellers, and try to manually lever the spinning plate back and forth.
Using a Plunger for a Clogged Garbage Disposal Fix
If the blades are spinning but the water isn’t going down, you have a clog in the drain line rather than a jam in the disposal itself.
- Prep the Sink: If you have a double sink, you must seal the “non-disposal” side with a stopper or a wet rag. If you don’t, the pressure from the plunger will simply escape out the other drain.
- Clamp the Dishwasher Line: This is a pro tip! Use a small clamp to pinch the rubber dishwasher drain hose. This prevents the plunger from forcing dirty water back into your dishwasher.
- Plunge Vigorously: Fill the sink with about 3-4 inches of water to create a seal. Place a sink plunger (not a toilet plunger) over the disposal opening and plunge firmly 10–12 times.
This pressure often dislodges soft clogs like pasta or potato peels. If this doesn’t work, it’s time for deeper drain cleaning.
Advanced DIY Methods: Natural Cleaners and P-Trap Removal
When mechanical force isn’t enough, we turn to chemistry and manual disassembly.
Natural Clogged Garbage Disposal Fix with Baking Soda and Vinegar
We generally advise against harsh chemical cleaners because they can corrode the metal components of your disposal and damage the rubber seals. Instead, use the power of the “volcano” reaction.
- Pour ½ cup of baking soda into the disposal.
- Follow it with 1 cup of white vinegar.
- Let the mixture fizz and work its magic for 10–15 minutes. This reaction helps break down grease and deodorizes the unit.
- Flush with a gallon of very hot (not boiling) water while running the disposal.
Cleaning the P-Trap and Drain Lines
If the sink is still backed up, the clog is likely sitting in the P-trap—the U-shaped pipe under the sink.
- Place a bucket under the pipes to catch standing water.
- Loosen the slip nuts on both ends of the U-shaped pipe using channel-type pliers or just your hands if they aren’t too tight.
- Remove the trap and dump the contents into the bucket. You’ll likely find a “plug” of food waste or grease here.
- Clean the pipe with a scrub brush and reinstall it.
| Feature | DIY P-Trap Cleaning | Professional Hydro Jetting |
|---|---|---|
| Effectiveness | Clears local clogs only | Clears the entire line to the main |
| Tools Needed | Bucket, Pliers | High-pressure jetting equipment |
| Best For | Food stuck under the sink | Years of grease buildup/roots |
| Risk Level | Low | Requires professional training |
If the trap is clear but the drain is still slow, the blockage is further down in the branch line. This is where hydro jetting becomes the most effective solution.
Maintenance Tips to Prevent Future Clogs
The best clogged garbage disposal fix is the one you never have to perform. Here in Florida, our water can be hard, and our kitchens are busy. Follow these rules to keep things flowing:
- Run Cold Water: Always use a strong flow of cold water before, during, and for 30 seconds after you finish grinding. Cold water keeps grease solid so it can be chopped up and flushed away.
- Feed Gradually: Don’t dump a whole plate of scraps in at once. Feed the disposal small batches.
- The Ice and Salt Trick: Once a month, throw a handful of ice cubes and a tablespoon of rock salt into the disposal. This scours the blades and knocks off any slime buildup.
- Citrus Deodorizer: Grind up a few lemon or orange peels to keep the unit smelling fresh and use the natural acidity to break down minor residue.
If you are reaching for the plunger every other week, there is a good chance years of buildup have narrowed the pipe. Here are some signs it may be time for hydro jetting.
Frequently Asked Questions about Garbage Disposals
Is it safe to use chemical drain cleaners in a disposal?
In a word: No. While some brands claim to be safe, we have seen countless units where the caustic chemicals have eaten away at the plastic and rubber components, leading to leaks. Furthermore, if the chemical doesn’t clear the clog, you are left with a sink full of toxic water that makes it dangerous for a plumber to work on later.
Can a clogged disposal affect my dishwasher?
Yes, absolutely. In most homes, the dishwasher drains directly into the side of the garbage disposal. If the disposal is clogged, the wastewater from your dishwasher has nowhere to go and will back up into the bottom of your dishwasher or flood your sink.
When should I call a professional plumber?
While many fixes are DIY-friendly, you should call us if:
- You smell electrical burning.
- The unit is leaking from the bottom (this usually means an internal seal has failed).
- The motor hums but the hex key won’t turn (the motor is likely seized).
- You have recurring clogs in multiple sinks, which suggests a main line issue.
For expert help in Southwest Florida, reach out to Premier Plumbers’ drain cleaning team.
Conclusion
Fixing a clogged garbage disposal doesn’t have to be a nightmare. By following the steps above—starting with the reset button and moving through to the hex key and plunger—you can solve the majority of kitchen sink issues on your own.
However, if your disposal has reached the end of its 8-to-15-year lifespan, or if the clog is buried deep in your Florida home’s plumbing, don’t risk damaging your pipes further. At Premier Plumbers, we bring a three-generation legacy of expertise to every job, ensuring your kitchen is back up and running with minimal stress.
Whether you’re in Bradenton, Cape Coral, or Tampa, we’re here to help. Explore our full range of services or schedule your professional plumbing repairs today.